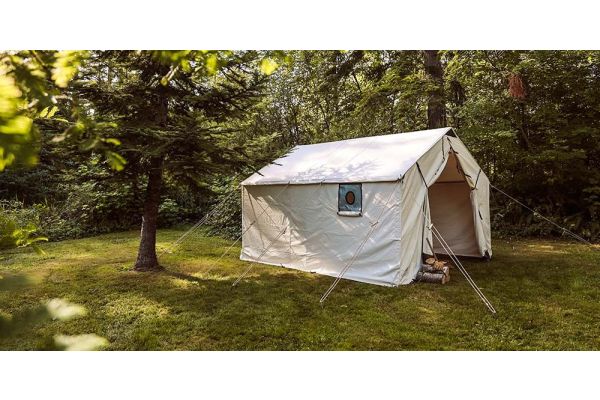
A Burning Question
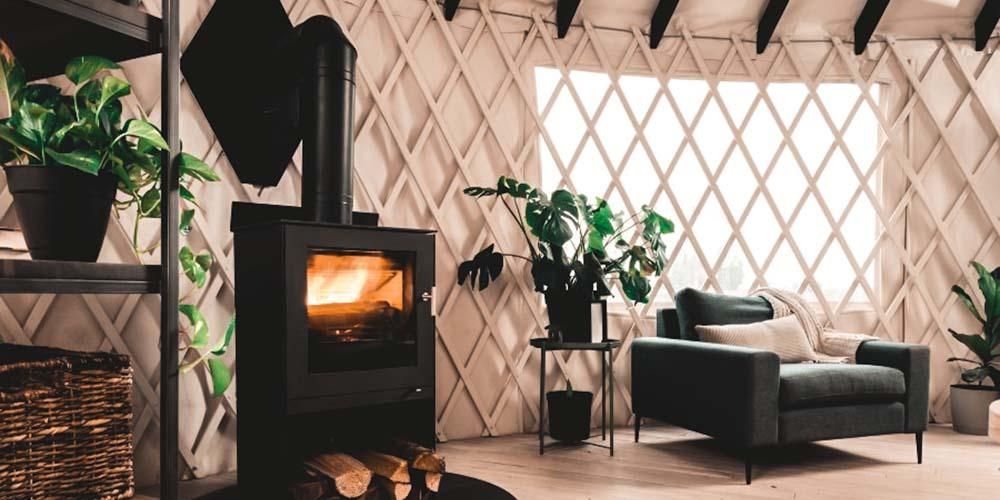
One of the most common questions we receive from new yurt owners is: "can I install a wood stove in my yurt?" The answer is, of course, you can! I would estimate that 90% of our yurt buyers lead toward woodstove installations after purchasing their yurt. The cold winter temperatures tend to creep inside your yurt. Installing a wood or gas stove will become a lifesaver during the chilly winter months.
There are multiple tips and tricks behind installing your yurt heating system. In this blog, we will propose a few tips from our expert yurt creators here at Rainier Outdoor. Furthermore, the most popular heating solution for a yurt is a wood stove. However, we will also cover gas stoves and radiant floor heating.
Which Woodstove Works Best for You?
The first question to propose is what size woodstove do I need for my yurt? A smaller woodstove is obviously an ideal option, considering limitations to your precious space. However, we recommend that you base your size on two basic principles: “how many square feet will it heat?” and “how many British Thermal Units (BTU’s) will it kick out?”. From different fuel sources (wood logs, pellets, gas) to an endless supply of stylistic choices, there is something for everyone.
The Jotul F 602 CB
A team member from SunTime Yurts introduces us to this wood stove. This sharp-looking unit stands 25 ¼” tall by 11” wide x 19 ¼” deep. It has a maximum heat output of 28,000 BTU/hr. and can heat up to 800 square feet. This heating system is EPA approved and contains a fully functional cook plate on the top. Also, it comes with a rear or top exit flue collar with an adapter for the stove pipe. This is a very popular product in the yurt community and claims to be the best-selling woodstove ever produced.
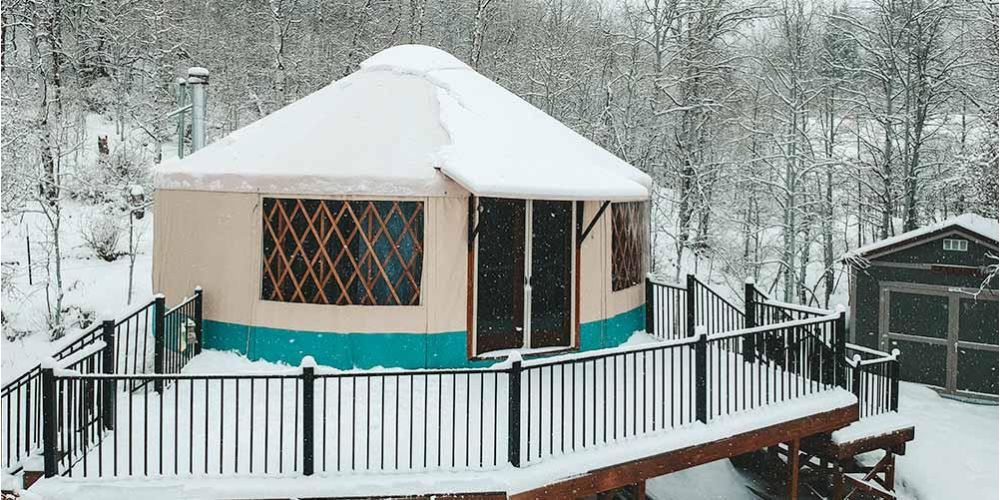
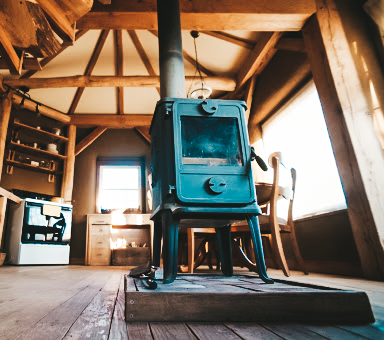
The only rule is that you MUST vent out through the sidewall and NEVER through a vent hole in the roof. You will void your warranty on your entire Rainier Yurt once you cut into the roof.
US Stove Barrel Stove Kit
Thinking of something a little more in your price range? How about a DIY project? We discovered a Barrel Stove Kit that you make from 30 - 55-gallon steel drums (drums not included). The cast-iron barrel stove kits by United States Stove Company are an affordable alternative for the economical heat required in small places. The components are made from sturdy cast iron and are easily adapted to a large-capacity steel drum. It is important to note that these options are not available for purchase in California or Washington.
Morso 1410 Wood Burning Stove ("Squirrel")
The Morso 1410 "Squirrel" Wood Burning Stove is named after the distinctive and very charming squirrel branding on either side of the stove. It sits at 27 ¾ " height x 15 3/8" wide x 17-1/4" depth. It can burn 12" logs, although, you can get 8-9 hour burns out of this stove. Its efficient heat and miniature size make it perfect for small rooms, yurts, or spaces with limited heating needs. It has a great insulation rating and can heat up to 1000 square feet. Furthermore, it comes with a riddling grate, ash pan, rear, and bottom heat shields.
Dyson AM04 Fan Heater
The Dyson Fan Heater is a great option for someone who is seeking a more modern heating system. It works as an air conditioner in the summer, is easy to clean, and there is no fussing with logs if that is not your thing. It contains a long-range heat projection, you can select your temperature by degree, and it is easy to use with remote control from across the room. This extremely safe option will shut itself off if it gets knocked over.
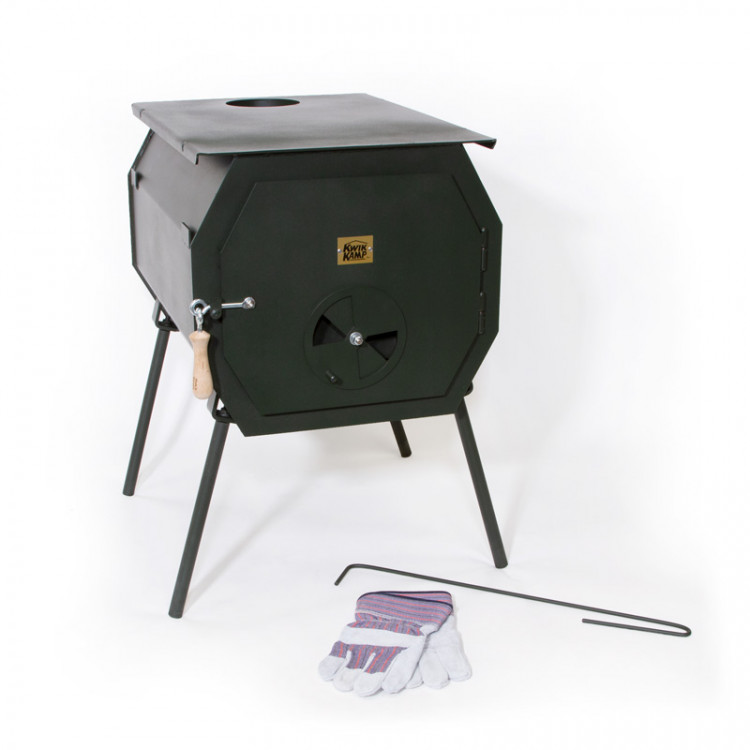
Kwik Kamp Octagon Stove
The Kwik Kamp Octagon Stove design allows for peak performance and longevity in the field. This highly efficient and airtight design provides long burn times and a heat output ranging from 80,000 to 90,000 BTU's to comfortably heat up to 550 sq. ft. of yurt space. This rugged and reliable stove is made from 12 gauge steel and built to last many winters over.
Step-by-Step Guide to Installing a Woodstove
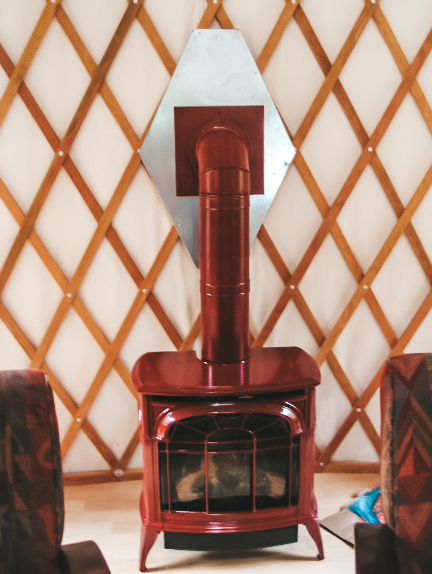
The Non-Flammable Barrier:
We recommend starting with a non-flammable barrier also known as a hearth. Wood stoves put out an immense amount of heat, therefore, you will want to build something to protect your space. A hearth can be made of stone, concrete, or metal. Over time, a hearth has also been referred to as a firebox. Essentially, it is the raised area around the fireplace, the whole fireplace, mantel, and chimney. The structure of your hearth will depend on your specific heating properties. For example, if your stove is elevated a few inches from the floor, then your hearth could be a sheet of aluminum that extends to the edges of your heat source. Hearths are very simple to make and serve as an important feature of your woodstove. Check out Zach Both's 'Do It Yurtself' wood stove story with a Rainier Outdoor 33' Eagle Yurt, and see it in action!
Woodstove Placement:
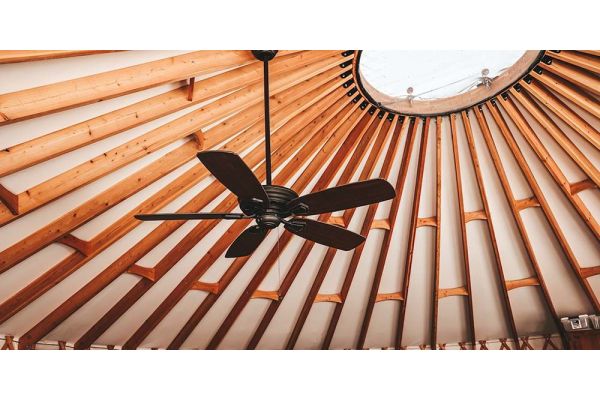
The placement of your woodstove will depend entirely on the size and structural elements of the stove. Most yurt experts will strongly recommend installing your stovepipe vent through the wall rather than the ceiling. The reasons are: it will eliminate ash residue on the roof, it provides easier access to the chimney for regular upkeep, and you will void the warranty for your entire Rainier Yurt if you cut into the roof.
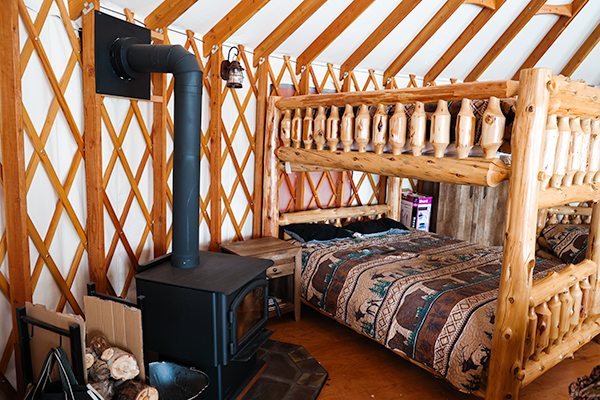
You will need to install metal flashing if your stovepipe exits through the yurt wall. Metal Flashing will help protect the lattice and fabric from striking fire from the heat of the stove pipe. First, measure exactly where the stove pipe will exit between the cross-sections of the lattice. Then, grab a pencil, and trace the circumference of your stove’s wall thimble onto the lattice. Next, cut into the lattice wall with a saw. Using an x-acto knife or sharp scissors, Finally, screw both metal flashing components into the lattice. You will need to slip the chimney’s wall thimble into place, then secure it.
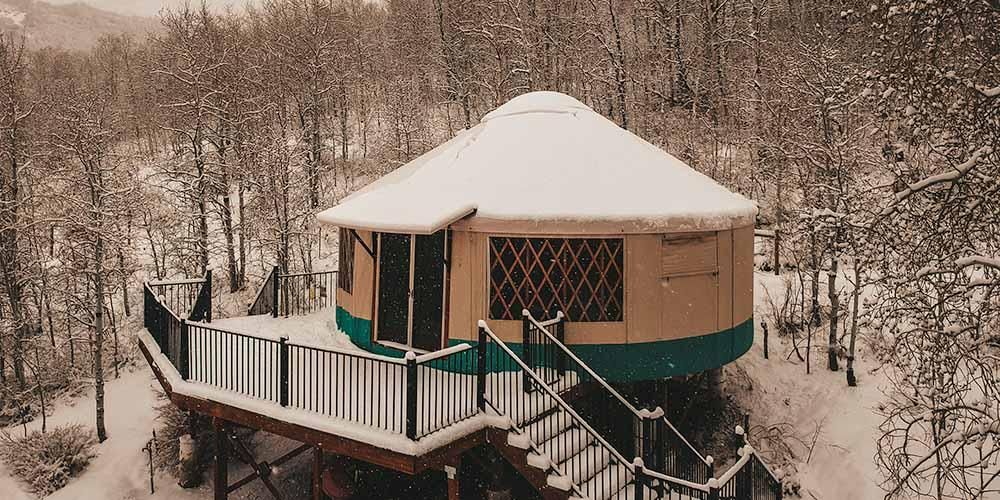
The Exterior Chimney Support Pole:
The fewer holes in the yurt walls, the better, when it comes to the chimney support pole. Typically, yurt owners will build a tall beam adjacent to the chimney that is securely placed into the ground. Often, the pole is comprised of two 4x4 posts mounted next to the yurt. The posts should be high enough to attach to the highest section of piping. For the best security, you will need to set the poles into a concrete form, then dig a hole deep enough to provide stability within the post.
I hope this helps you find some options. Stay cozy in those winter storms!
Enjoy the journey!