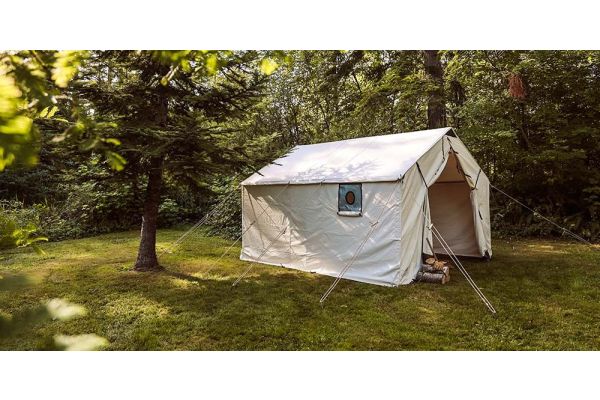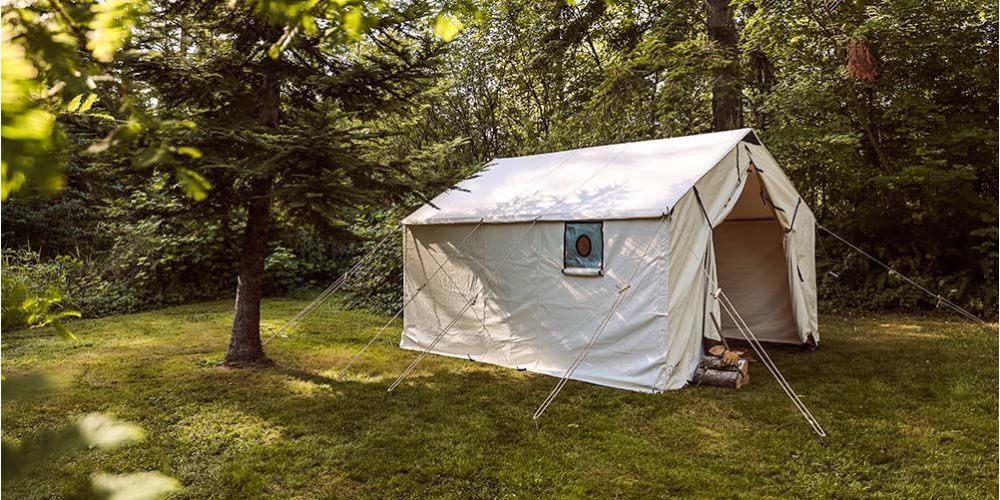
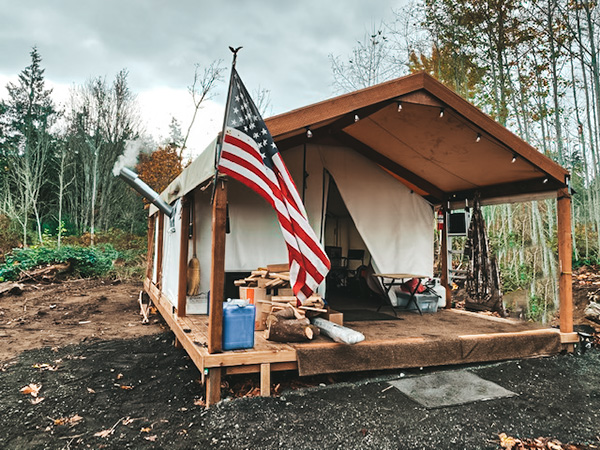
The Centennial Wall Tent is the ideal focal point for glamping sites and Airbnb spaces. It is our longest-standing product and has prevailed unchanged for over a century. Designed in 1896, this canvas tent was provided to prospectors headed north to the Alaskan Gold Rush. The remarkable quality of our Army Duck Canvas fabric prepares hunters, glampers, and campers for the best conditions on their journey. In this post, you'll find a list of platform supplies and instructions for all Centennial Wall Tent sizes.
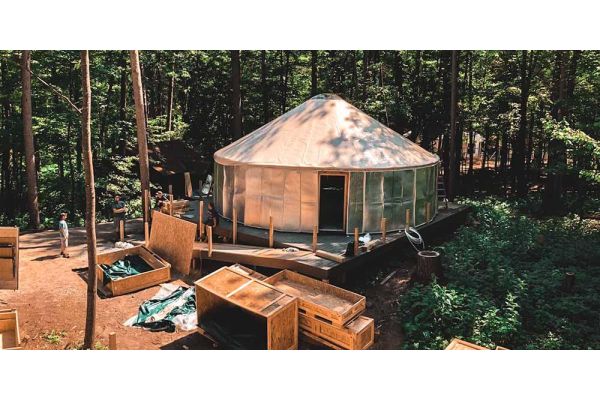
Every Centennial Wall Tent platform is different and unique to the wall tent and its purpose. Hundreds of configurations could take place while building a platform for your canvas tent. This blog is one of many ideas for a wall tent platform and your structural needs may vary. While determining the structure for your wall tent platform, you may look at our tent vinyl floor options. We offer a lightweight wall tent vinyl floor that will help keep you and your gear dirt free and dry. The vinyl floor is made of brown 18oz. polyester reinforced vinyl with seams that are heat sealed to create a completely waterproof tent floor. This option is crucial to adventurers that plan to utilize their tent in heavy weather climates.
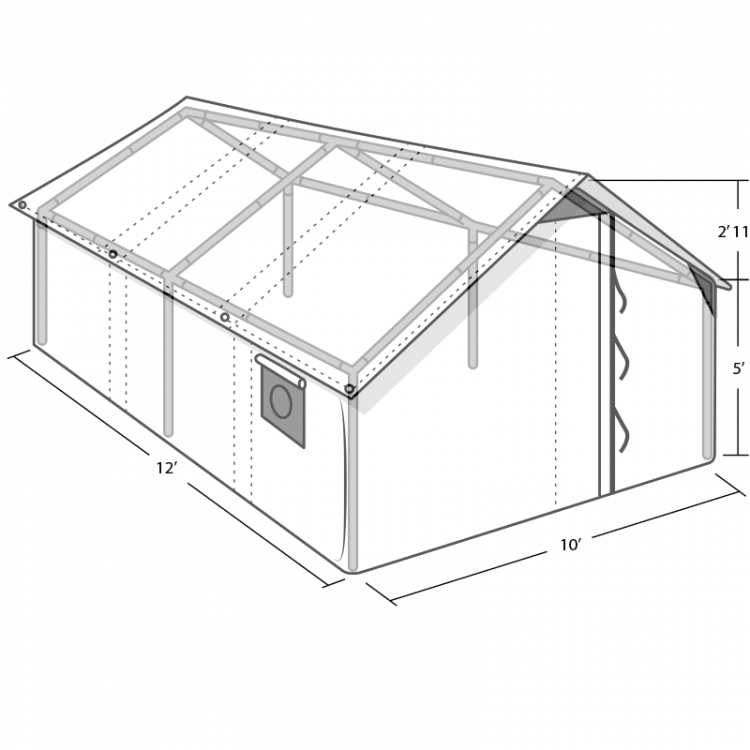
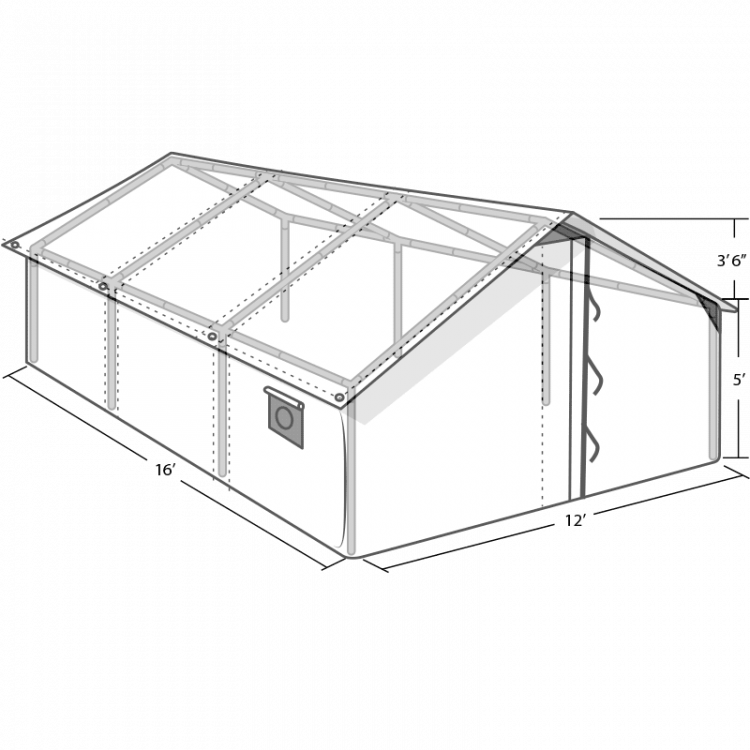
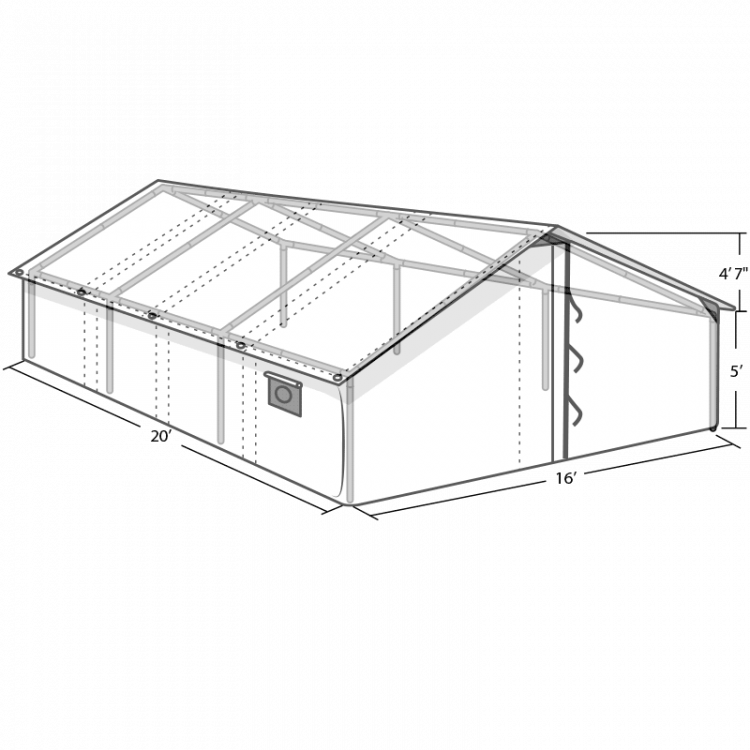
This blog is specific to our 16' x 20' Centennial Wall Tent. Find platform designs for our additional wall tent sizes below.
What You'll Need
The materials listed below can be found at a local hardware store. In addition to the hardware listed below, we recommend gathering a circular saw, shovel, cordless drill, hammer, tape measure, nylon string line, and pencil. Take this blog to the store with you before you begin construction!
16' x 20' WALL TENT PLATFORM
| Material | Quantity |
|---|---|
| 4" x 4" Pressure-Treated Post (cut to desired platform height) | 9 |
| 2" x 6" x 20' Pressure-Treated Joists | 2 |
| 2" x 6" x 16' Pressure-Treated Joists | 21 |
| Joist Hanger | 42 |
| Post Top Connector | 1 |
| Exterior Wood Screws | 2 - 3 Boxes |
| 5/4" x 6" x 16' Pressure-Treated Lumber | 32 |
Building the Foundation
- Determine a level location and position where your Centennial Wall Tent will rest and mark a 16' x 20' space for the platform.'
- Once you've determined the ideal location for your Centennial Wall Tent, mark the dimensions with a nylon string line.
- Locate your 4" x 4" posts and cut them to the desired height of your platform. Each post should be 1' or taller.
- Cut (9) 4" x 4" posts with a circular saw. One of your 4" x 4" posts will support the center joists. The center post should be 5 1/2" shorter than the rest.
- Place all nine posts in their marked location around the nylon string line. There should be 3 rows of posts with the shorter post directly in the center of your platform layout.
- Dig 4" deep holes where each post will rest. Measure each hole to confirm that each is 4" deep.
- Set your 1' tall posts in each hole and pack them in with the excess dirt or gravel (for better drainage).
Connect the Perimeter Joists
- Grab (2) 2" x 6" x 16' joists and (2) 2" x 6" x 20' joists.
- The front and back of the platform will be 16' and the sides of the platform will be 20'.
- Screw the 20' joists directly into the post using exterior wood screws. Make sure each joist is attached to the outer end of the post. Each joist should be level and flush with the top of the post.
- The 16' joists must be 3" shorter to account for the depth of the two 20' joists. Cut 3" off each 16' joist with a circular saw.
- Place your 15.9' joist horizontally along each side of your platform. Screw the joists directly into the post using exterior wood screws. Each joist must be attached to the outer edge of the post, level, and flush to the top.
The Center Beam
- The center beam will run horizontally through the middle of your platform to eliminate bowing.
- Place one joist hanger on each end of the platform and attach them to the center leg post. Each joist hanger should be secured to the inside of the center leg post. Use your exterior wood screws to secure each joist hanger to the post.
- Place the post top connector onto the top of the center 4" x 4" post.
- The center beam must be shorter than the perimeter beams to account for the exterior joists. Take a 16' long joist and cut 12" off the end.
- Slip the ends of the center beam into the two joist hangers, and secure the middle of the beam into the post-top connector. Secure the joist into the joist hangers and post top connector with exterior wood screws.
Attach the Interior Joists
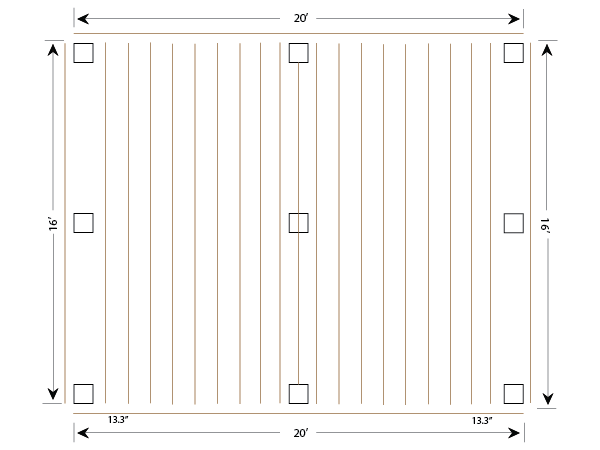
- For our 16' x 20' platform, we'll be using (9) 2" x 6" x 16' joists on each half of the platform. Each 16' joist will be placed 13.3" apart on center.
- Place joist hangers 13.3" apart on the inside of both ends of the 20' joists. Fasten joist hangers with exterior wood screws.
- Screw directly from the beam to the joists on the exterior sides.
Final Step: Decking
- If needed, use a circular saw to cut deck boards to 16'.
- Lay the boards out to confirm the amount needed for your wall tent platform.
- Using exterior wood screws to secure the pressure-treated floorboards to the joists.
Searching for Inspiration?
If you have any questions or concerns during the wall tent platform build, please contact us. Enjoy the adventure!